HIKE TO: Bridge to Nowhere
TRAIL: East Fork Trail
TRAILHEAD: East Fork Day Use Parking Lot
MILES: 10 miles out and back
TIME: 5:30 hr
DATE I WENT: 7/19/14
DIFFICULTY: moderate
ELEVATION GAIN: about 1000 ft, mostly flat
HIKE PERMIT: no
LOCATION: San Gabriel Mountains
FAQ about Bridge to Nowhere Trail
The Bridge to Nowhere Trail is 10 miles out and back.
Depending on your experience and fitness levels, it can take anywhere from 4 – 7 hours.
Head north on the winding road of hwy 39 in Azusa until you reach the San Gabriel Reservoir, then right near the end of it onto E Fork Rd. Drive all the way down until the road turns into Glendora Mountain Rd/ Camp Bonita Rd.
*This was the very first 10-mile hike I did – if you’re an experienced hiker, I’d plan for closer to 4 hours for the hike*
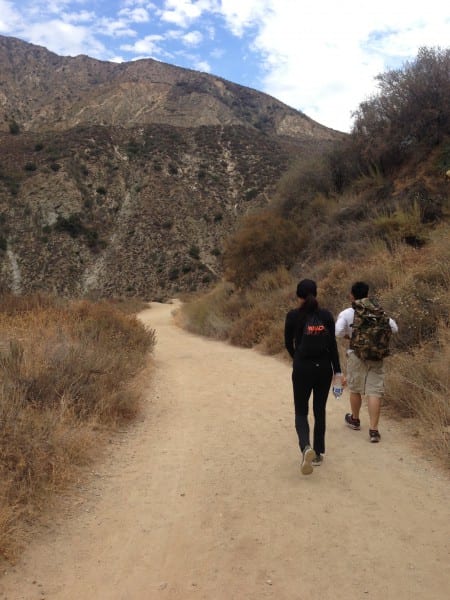
On July 19, 2014, I finally hiked the famous Bridge to Nowhere hike in Azusa, CA. This fun 10-mile hike in the San Gabriel Mountains is easy in difficulty because it lacks elevation gain and is mostly shaded until the end, but it is a longer hike for the average beginner hiker and not an easy to follow trail.
The Bridge to Nowhere hike shares the same trailhead and parking lot as Iron Mountain, a much more advanced and strenuous hike, at the East Fork Day Use parking lot. The parking lot does fill up fast so get there early!
Bridge to Nowhere Parking and Trail Head
Before heading up, we swung by the liquor store at the bottom of the mountain to get a parking pass ($5 daily but I’d recommend purchasing an annual pass ahead of time so you can park at all of SoCal’s Angeles National Forest).
Bridge to Nowhere Trail Report
We started from the parking lot at 9:42 am, hiked about a mile to reach the East Fork/ Iron Mountain trail junction, and headed off into the wilderness by 9:55 am. There’s a stinky restroom there, as well as in the parking lot, but beggars can’t be choosers.


There were at least 7 creek crossings one way – some big, some small. The third river was more challenging. I heard you used to have to get wet and literally walk through the river, but with California being so dry these days, the water level has significantly gone down so we just jumped on rocks across the river. On a good rainy year though, keep in mind you may have to get wet. The water in the shallow areas was really clear and pretty!
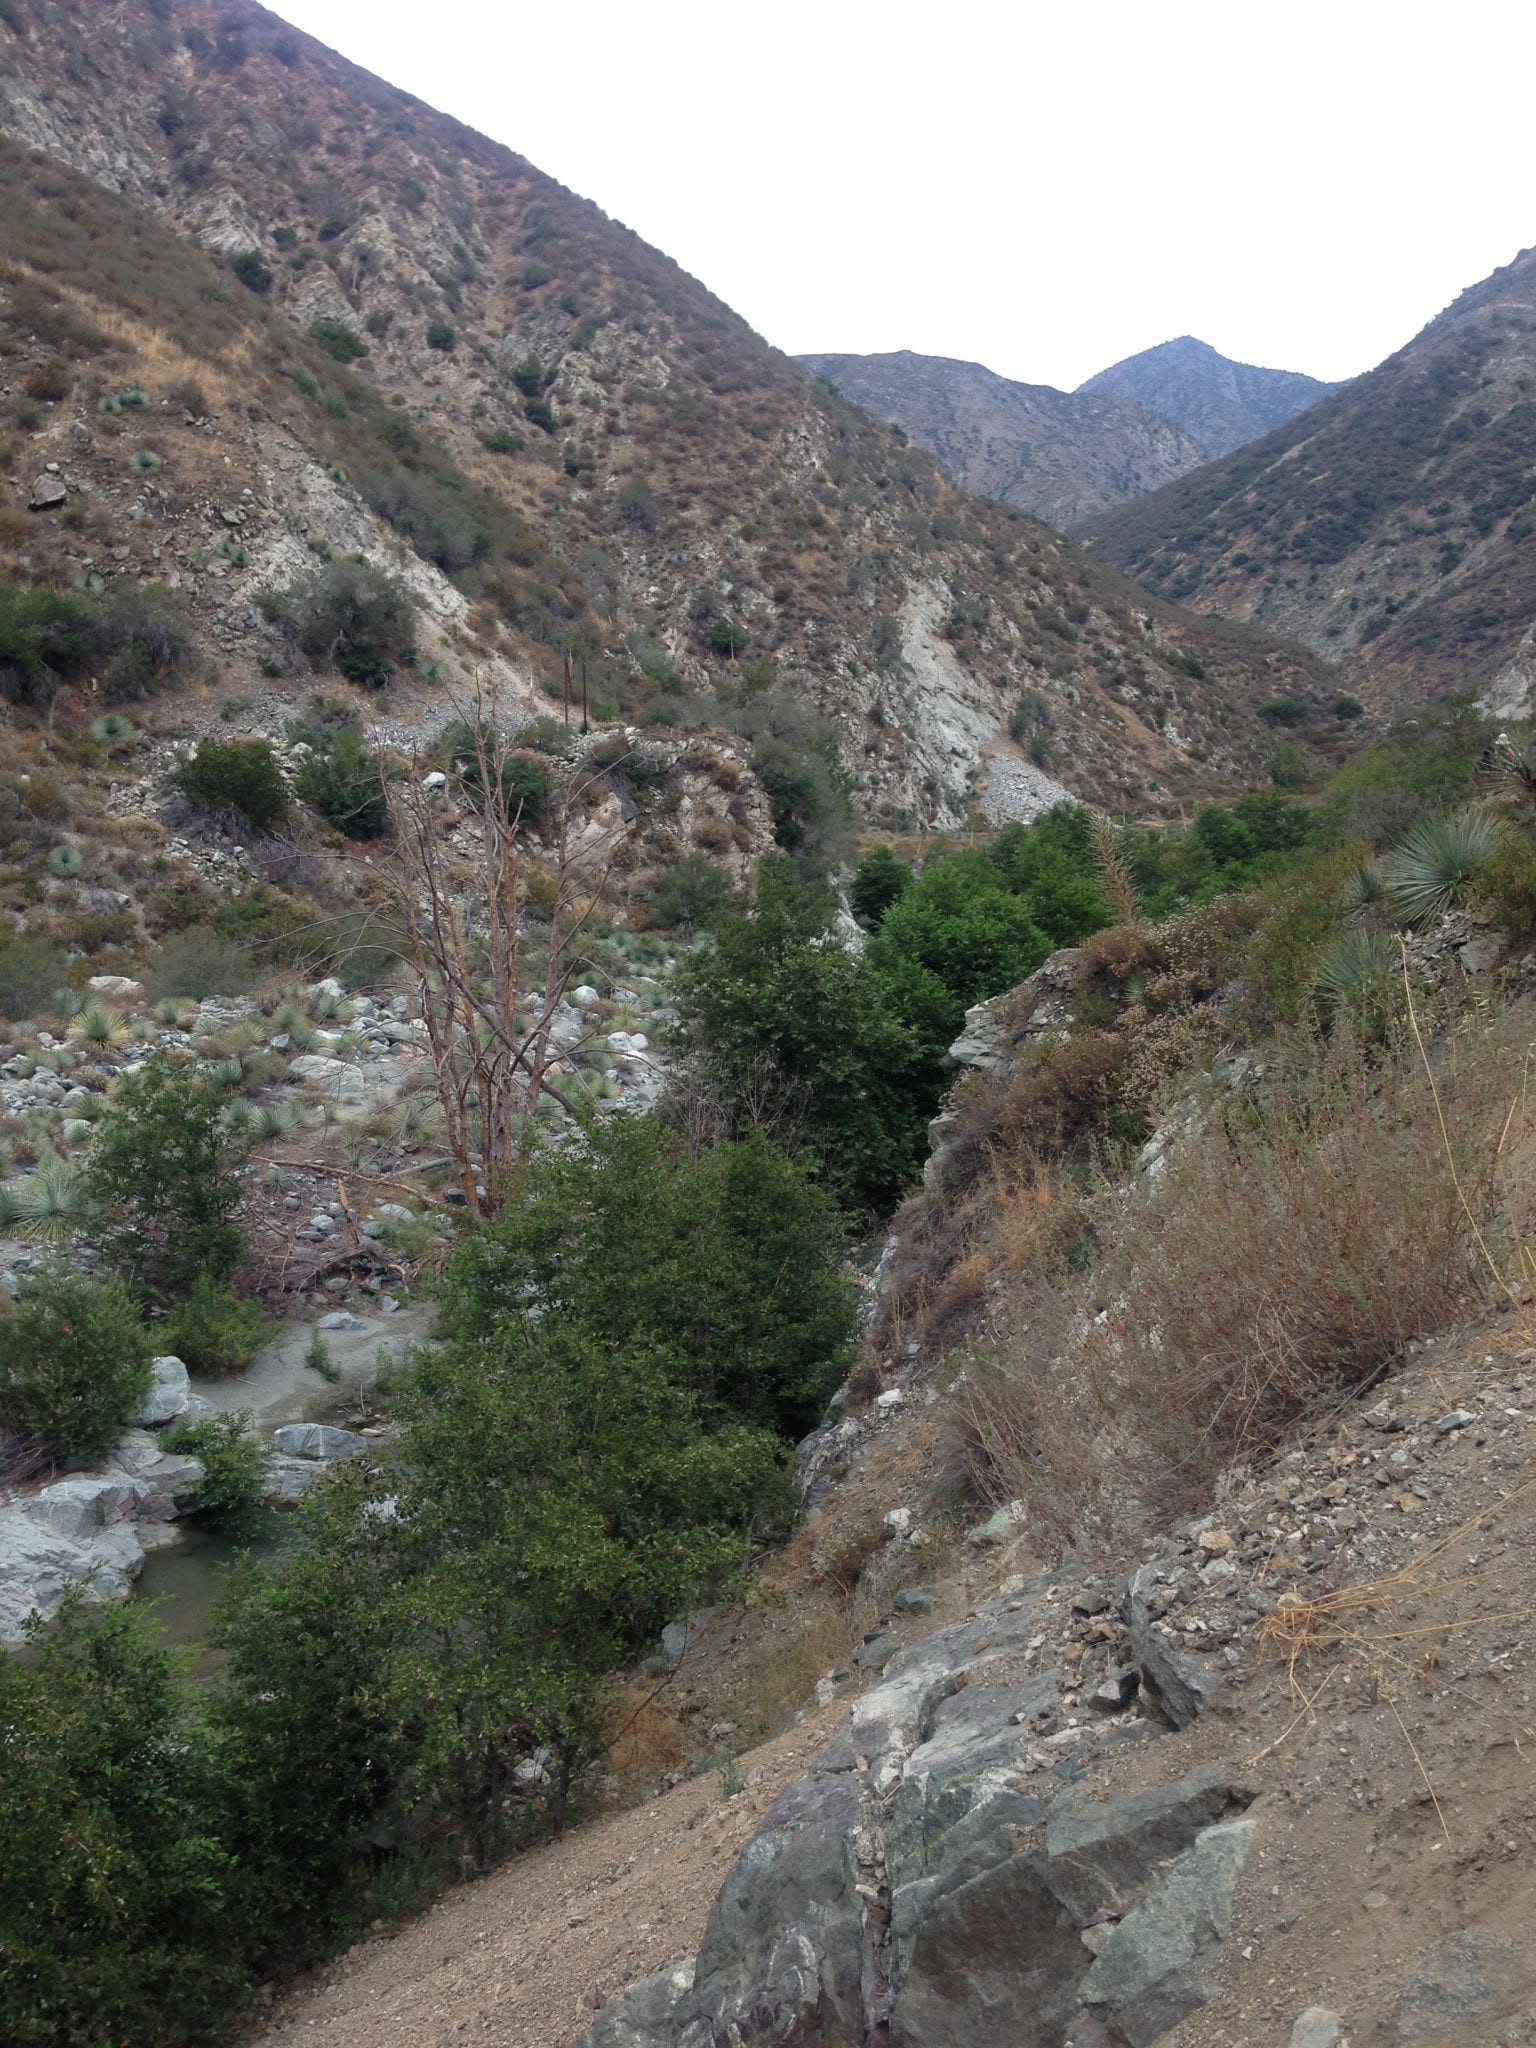
The trail follows the creek through Azusa Canyon but there is not a clear dirt hiking trail for most of it. A lot of the trail is on rocks but it’s generally just one direction through the canyon and a choose-your-own-adventure. Sheep Mountain Wilderness is common to bighorn sheep and a popular destination for gold mining, so keep your eyes open! We met a guy that said he was able to quit his full-time job cause he made six figures off of the gold he finds out here!


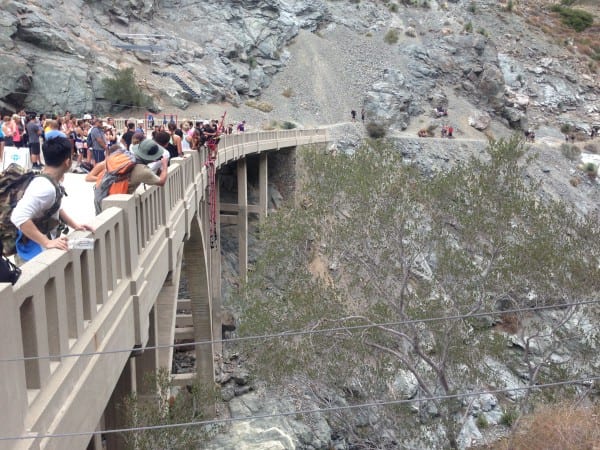
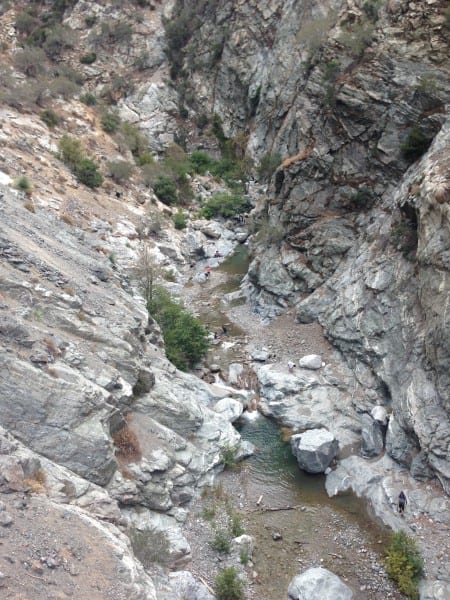
The trail is relatively flat. There are some ups and downs, with about 1,000 ft of elevation gain in 5 miles one way. We arrived at The Bridge to Nowhere. There’s a bungee jumping service out there and you can also hike to the water below from the end of the bridge on the right side and find some swimming holes to hang out in at the creek.
According to my Fitbit zip, we burned about 2500 calories in 28k steps on this hike. It takes the average person 2000 steps to walk one mile so we supposedly hiked about 14 miles roundtrip.


The hike back was a bit unpleasant as my feet were starting to hurt, it got a little warmer, and we missed some of the turns we took on the way over to stay on the clearer/ easier. But you’re basically headed in one direction the whole time and there’s no exact trail at parts of it, so it wasn’t bad picking another trail back. We also saw some big horn sheep out here!
Gear List from Hiking Bridge to Nowhere
- LL Bean day pack
- Merrell hiking shoes I didn’t love these, check out Altra trail shoes instead, these are what I now use
- FitBit tracker
- Day parking pass or annual adventure pass
Booking travel soon?
Please consider using my affiliate links below. It costs nothing additional for you but helps me maintain the ever-increasing costs of running a travel blog:
General travel through Tripadvisor here.
Book your flights here.
Book your accommodations here on Expedia, Booking.com, Hotels.com, and VRBO.
Book your car rentals here.
Book your tours here.
Book your travel insurance here.
Shop my favorite gear here.
Tiff, the owner and author of Follow Tiff’s Journey, is a California/ Colorado-based adventurer and outdoor connoisseur who divides her heart between the Eastern Sierra Mountains and the Colorado Rocky Mountains. Despite her fear of heights, she’s become a seasoned mountaineer, ultralight hiking and backcountry camping enthusiast, expert road trip planner, and a fervent explorer of alpine lakes, natural hot springs, and sandstone canyons.
With 10 years of experience exploring the outdoors, her blog is your go-to source for all things wilderness, offering invaluable insights and pro tips, essential gear recommendations, and awe-inspiring stories from her adventures.
Join Tiff on her quest to share the wonders of nature and inspire others to follow their own path in the great outdoors.
