HIKE TO: Rae Lakes
TRAIL: Rae Lakes Loop via Bubbs Creek
TRAILHEAD: Roads End Trailhead
MILES: 41.4 miles
TIME: 3.5 days
DATE I WENT: 10/27/17 - 10/30/17
DIFFICULTY: moderate
HIKE PERMIT: yes
PARKING PERMIT: yes, national park pass
LOCATION: Kings Canyon & Sequoia National Forest
Rae Lakes Loops is one of those beautiful multi-day trails you dream to hike, but always put off. In Fall of 2017, I got the chance to hike the whole loop as my first multi-day backpacking trip and highly recommend this if you’re looking for a 4 day backpacking trip in California in the Summer or Fall!
This was indeed my first 3-night trek where I pack up camp every morning to continue on to the next spot. I hiked this before I got into ultralight backpacking so I had a heavy and full pack — it was rough and challenging and a struggle at times, but rewarding and more beautiful than I’d ever imagined – certainly worth every pound.
What to Pack for 4 days Backpacking Trip
The classic trail to Rae Lakes from Roads End in Sequoia National Park is a 42-mile loop and can take 4 days to hike and camp comfortably. The second popular trail option to Rae Lakes from Kearsarge Pass in Eastern Sierra is 12 miles with two high-altitude mountain passes from the trailhead to Rae Lakes, and can be done in 2 days, or continue to do the full classic loop and add a few more days and a lot more miles in.
The best months for high-altitude hikes in California are typically July-Sept with the overall best months being August-September. However, Glen Pass still had snow late Oct of 2017 which was a good snow year, so be prepared for the potential of snow on the trail if you go earlier in the summer. It also gets really warm near the trailhead at lower elevations so avoid hiking in the middle of the day in the summer. I’d recommend Sept-Oct for the best weather but the nights will be colder.
Rae Lakes Loop Permit
- Clockwise loop: Woods Creek Trail and Entry Point Permit
- Counter-clockwise loop: Bubbs Creek Trail and Entry Point Permit
- 2024 permit quota ends Sept 28, 2024
Rae Lakes Loop Itinerary
I averaged 10 miles per day for 4 days (3.5 days actually since the last day was downhill and fast but to each her own) so read on for my full trip report along with schedules and campsites.
Day 1: 10 miles | 10:15am – 4:30pm | Road’s End to Upper Paradise Valley
Day 2: 9.7 miles | 8:45am – 5pm | Upper Paradise Valley to Dollar Lake
Day 3: 11.4 miles | 8:35am – 6pm | Dollar Lake to Junction Meadow (includes Rae Lakes and Glen Pass)
Day 4: 10.3 miles | 9:20am – 1:50pm | Junction Meadow to Road’s End
Backpacking Rae Lakes Loop- Trip Report
DAY 1: Roads End to Upper Paradise Valley
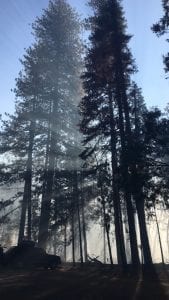
We drove up from LA around 4 in the morning and arrived at the Road’s End parking lot (5,035 ft) and ranger station just before 9 am. This was my first time in this area so it was really amazing to see the morning light come through with all the smoke in the air. We filled out our Rae Lakes Loop permit at the ranger station – since quota season ended, wilderness permits were free outside of the trailhead, but during the main hiking quota season, you do have to reserve a permit ahead of time.
There are bear lockers in the parking lot for you to leave any extra food and scented items you don’t want to bring on your trip; this is bear county so beware!

We took our time getting ready and hit the trails at 10:15 am. Not even two minutes into the hike, the most unimaginable thing happened – I saw a bear for the very first time and it was adorable! I froze, observed it, and then, of course, whipped out my camera.
After the bear crossed the trail and got further away, my hiking partner and I carried on with our ridiculously heavy backpacks. I have a fear of starving in the mountains so I always overpack with food and water.
Live and learn – no need to pack all my water when there’s a source throughout the trail. There was a prescribed fire still burning at the time and the smoke filled up the air at the starting elevation which made for a less-than-pleasant start, along with a ton of bugs hovering around our faces for the whole first mile. This part of the trail is wide and flat.
By 11 am, we came to the first junction where you decide which direction you want to hike:
- Clockwise up Paradise Valley, through Woods Creek on the JMT to Rae Lakes, up Glen Pass then back down the meadows via Bubbs Creek or
- Counter-clockwise to start along Bubbs Creek and finish coming down Paradise Valley.
We chose to hike Rae Lakes Loop clockwise and the trail started to ascend right away. From here, Mist Falls is another 2.7 miles away (4.6 miles from the trailhead) and we arrived by 12 pm noon, passing the Spinx just 15 minutes before it. We had a light lunch here (bacon, bread, and salami) and hung around until 12:40 pm before hitting the trail with our packs again. At this time of year, the fall foliage was very abundant and we hiked through it for hours on day one and day four.
This trip was very unexpected (we decided to go just 36 hours before we set foot on the trail) and I’d been out of shape so although the climb was very gradual, I found myself huffing and puffing and needing a nap. At 2 pm, we found a nice spot for a 10-minute power nap. I bought the Thermarest Z-foam pad for this trip (which I’ve been wanting) and found it to be very convenient to bust out for a nap in the middle of the trail. Let’s be honest – it’s not pretty at all but it is light, convenient and does the trick.
The rest of the day was just the same gradual incline with lots of Fall colors as we hiked along South Fork Kings River the entire way.


There are three campgrounds to choose from for camping this first night: Lower Paradise, Middle Paradise, and Upper Paradise. Note that all three have bear lockers so if you’re hiking just up here and back, you do not need to bring a bear canister; if you’re doing the whole loop, however, you need a bear canister.
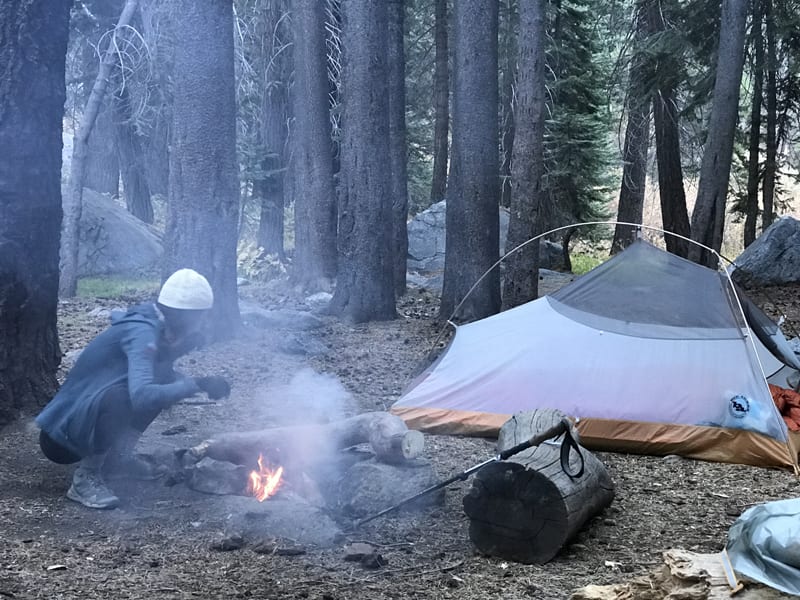
We camped at Upper Paradise Valley so we would have a slightly shorter trek the following day; it puts you right next to the (broken) South Fork Crossing bridge to start your next morning. We pitched our tent where there was already a campfire set up and had the entire campground to ourselves. With no other soul in sight, I was in bed by 7 pm and knocked out right away.


DAY 2: Upper Paradise Valley to Dollar Lake
The second day was the most brutal for me, maybe because the trail goes up and down so much. The South Fork Crossing bridge was out so we had to find an alternate way to get to the other side of the river.
There were two big logs you could use to cross closer to the front-middle area of the campground and this is where I started around 9 am. The river flowed strong but was certainly low enough to not get wet.
Once you get across and make your way to the stairs where the broken bridge should end, keep on the trail and stay right when it looks like a slight split.
Do not continue to follow the path parallel to the river. The trail leads you through the forest and I actually lost the trail around here, but if you download the offline area on Google Maps, just point the compass arrow towards the creek and walk in that direction; we weren’t far off at all but Google Maps did help put us directly back on track.

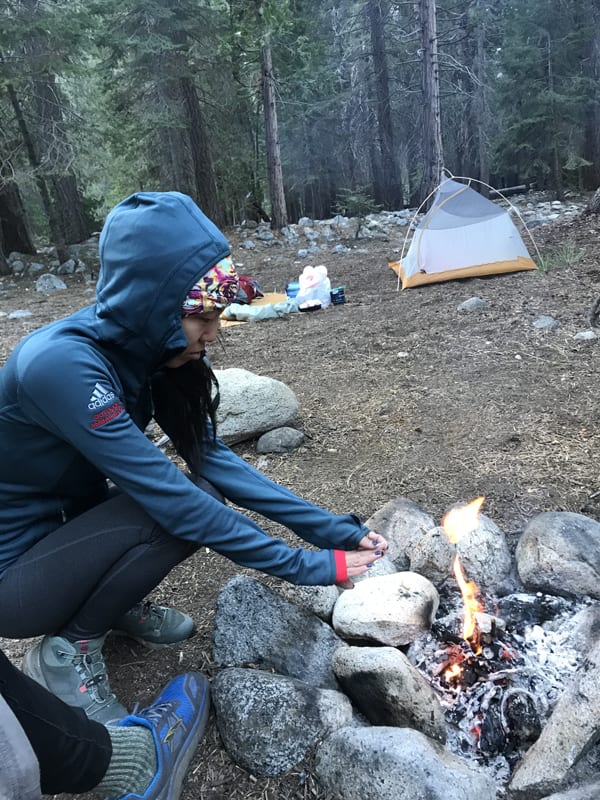


For the next 5.6 miles, you’ll find the creek nearby but there’s no direct water source until you get to the Woods Creek Crossing bridge. The trail will get exposed so I recommend filtering water before heading out in the morning so you don’t run out of water like we did… but we knew there was a water source coming up so it wasn’t terrible.
You’ll come across a section that is fenced off and you see the trail continue on the other side, but just keep going. 4 hours later, we finally arrived at Woods Creek Crossing.
The suspension bridge says one person at a time… and I know it’s pretty legit and stable… but my fear of heights still got the best of me while I walked over the river. We spent a little over an hour next to the creek here to have lunch, filter water, and rest. By 2:15 pm, we were back on the trail which had a variety of flat portions, small water crossings, inclines, and declines.


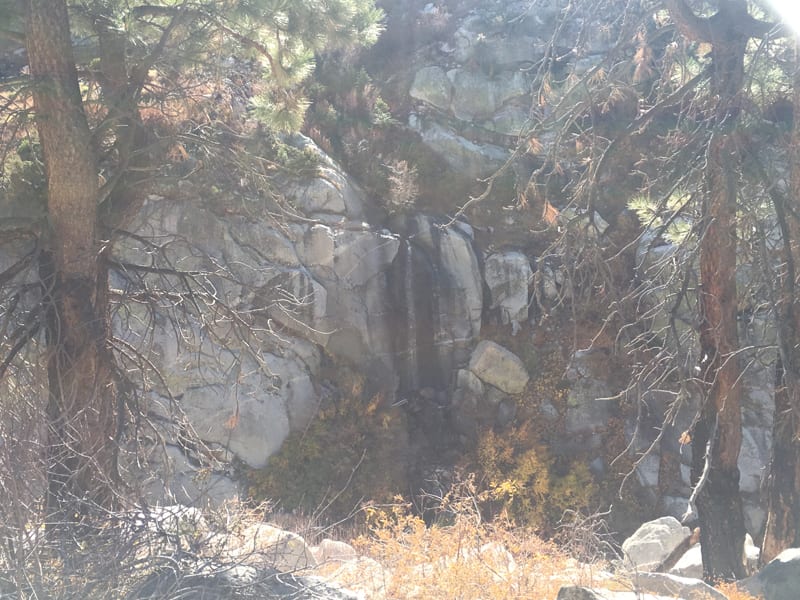


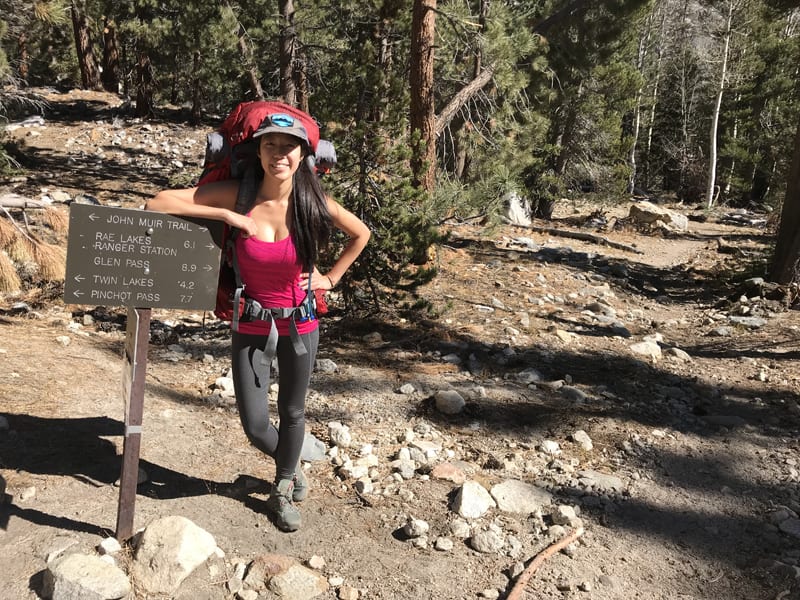


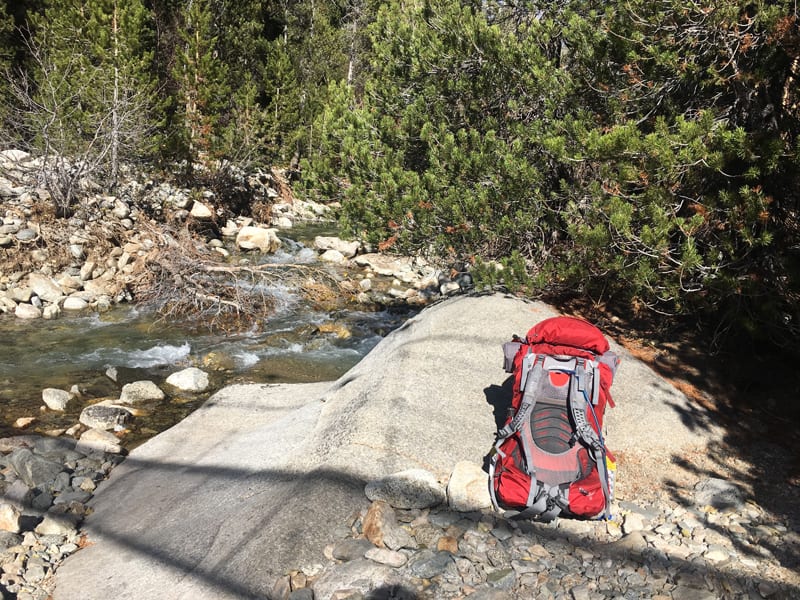

We didn’t make it to Dollar Lake until 5 pm. This wasn’t the goal for day 2, but it was as far as my body was willing to endure.
Maybe it’s the time of day I caught the lake, but it was one of my favorite spots on the whole loop (I’m a sucker for lake reflections).
This evening was the first time we saw people on the trail – two older men had set up camp, and another small group had passed us after we pitched. I find myself to be in bed early when I go backpacking… partially because there’s not much to do when it gets dark and cold at night outside, and partially because my body needed the rest (remember, no campfires above 10k ft).
I’m curious about what you all do in the evenings while backpacking so comment below so I can get some ideas! I was tucked in my super warm sleeping bag by 8 pm.


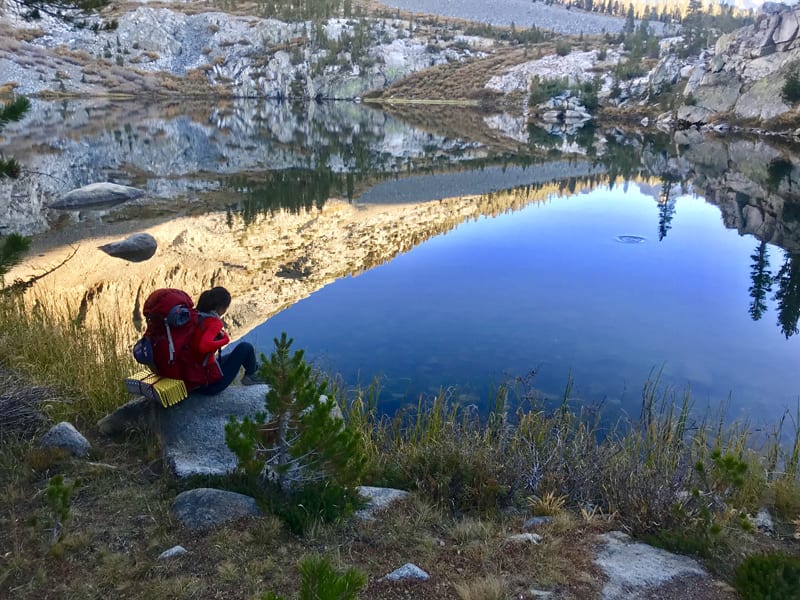


DAY 3: Dollar Lake to Rae Lakes to Glen Pass to Junction Meadow
This is the day we had been waiting for — Rae Lakes and Glen Pass. We started the day early at 8:35 am because we knew it would be a long day and we were behind already. It’s always hard getting up in the cold morning but that’s when the views are prettiest.
It took us about an hour to get to Rae Lakes from Dollar Lake. I believe we only crossed one very small stream and most of this part of the trail was relatively flat. Rae Lakes marks mile 22.7 (woo-hoo, halfway!) and is comprised of three lakes. When you get up close to the middle lake with the Painted Lady in the background, the water has a pretty turquoise color so we chose to have a snack here and enjoy the views before hiking Glen Pass.
Between this and the next lake, there’s a very small crossing which is a good spot to filter water since it’s flowing, clear and easy to access. Fill up water here because you won’t have another water source for about 5-6 miles and it’s about to be a lot of inclines! After this at 10:40 am, we started our ascent up Glen Pass.


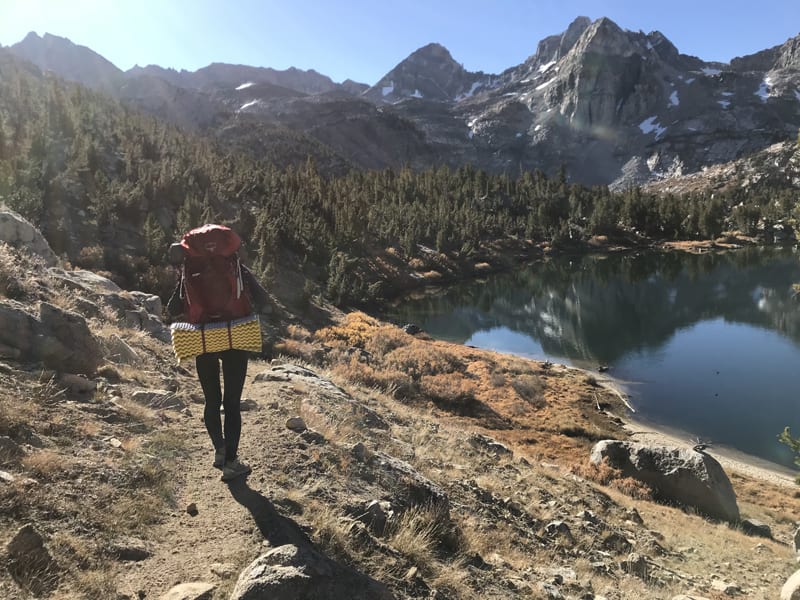


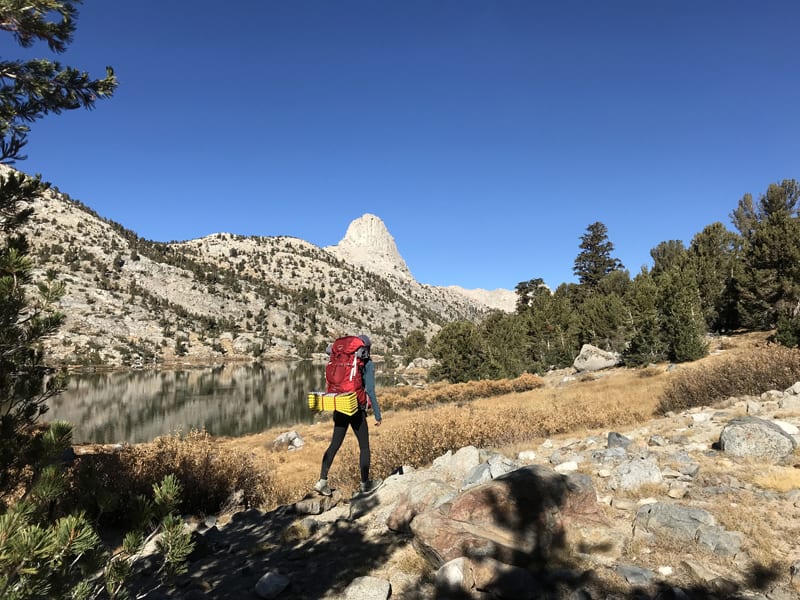


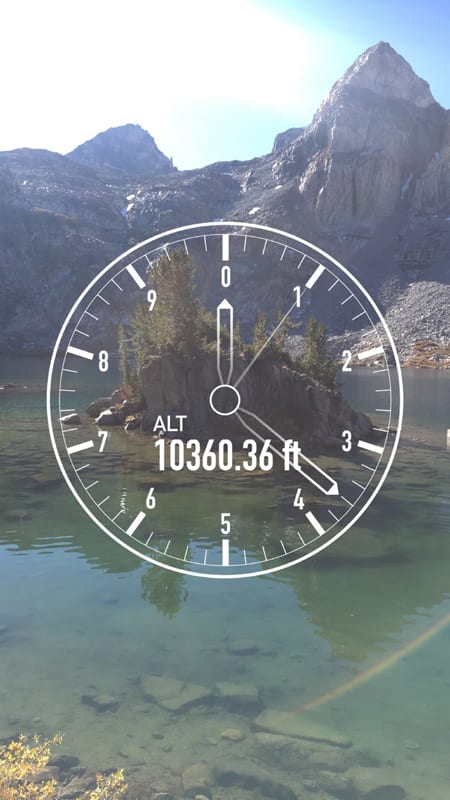


When I impulsively decided to do this hike (I literally decided less than 48 hours from being on the trail to finally just go for it), it hadn’t quite hit me I’d be going up and through a pass. I have a fear of heights so as I continued on, I looked at every big mountain ahead hoping that wasn’t the pass…
The trail grade picks up and you find the huffing and puffing begins, but the views get more breathtaking as you move forward. When you think you’re up top… well you’re not. After several switchbacks and around noon, I found myself staring at a giant mountain in front of me hoping that wasn’t Glen Pass.
It wasn’t the trail grade that made me uneasy, but the heights. Going up actually wasn’t as bad as I expected; honestly, it wasn’t bad at all and I found myself struggling more the day before. Once I got to the top and we stopped for pictures, though, my body sort of froze… and I literally had to have my hiking partner hold my hand through the very short pass that was less than ten steps. Ya… I’m that girl.
It took us 1:15 hr to get up the pass and we only encountered one very small patch of snow near the very top, but there was some snow along the trail leading up to the pass. We were up there for less than ten minutes and as soon as we started to head down, all the energy came flowing back to my body as I knew I’d be close to the ground soon.
Don’t forget to turn around to enjoy the views on the way up to Glen Pass – there are so many lakes! Glen Pass marks mile 24.6!


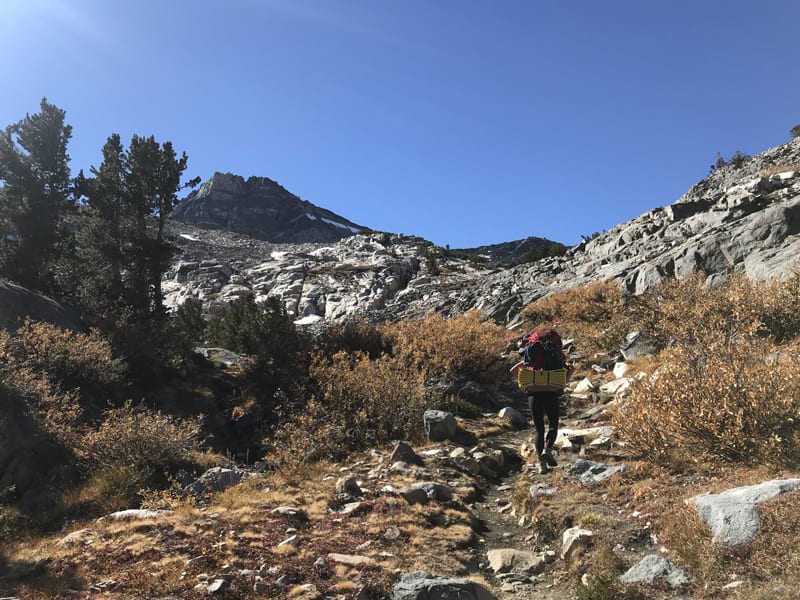
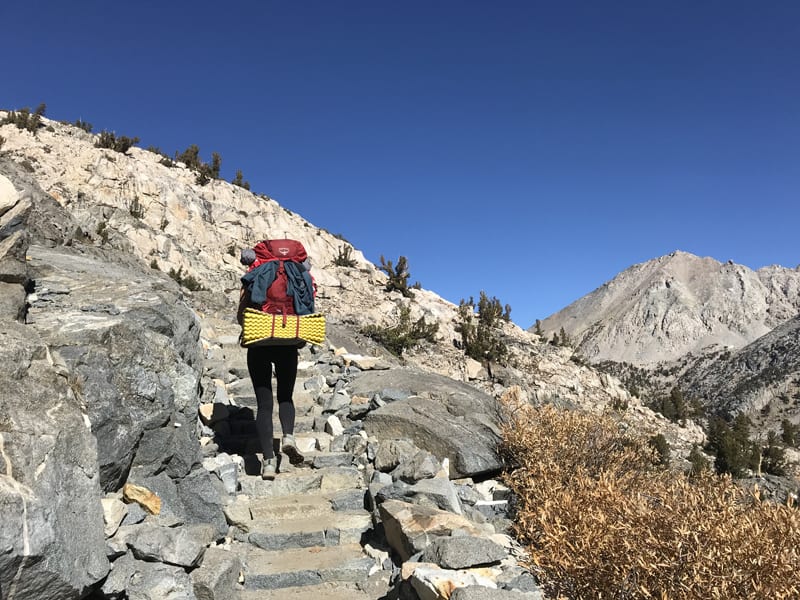


By 2:10 pm, we made it to the bottom of this particular mountain and set of switchbacks, fueled up, laid out the foam pad and took a power nap. We picked the trail up again at 2:45 pm and the views heading down of the valley and Charlotte Lake were incredible. The trail starts with a decline and picks back up and down a bit, but nothing dramatic for the most part. Just before you get to the Charlotte Lake Junction, the landscape gets very flat and open which is different than anything we’ve hiked on for this trail. At 26.7 miles (from trailhead) at hour 3:36 pm (of day 3), you come to the Charlotte Lake Junction – it is a 0.7 mile hike detour from here but we opt to skip it so we could make it to our desired campsite before dark. I’ve heard this is a spot to filter water though if needed (and it’s a campsite option for the night), which we actually did, but Google Maps showed we weren’t much farther from a creek. As the trail declines through a forested area, we arrived at a flowing creek water source at 3:55 pm.
*I want to take a moment to talk about the importance of navigation and how well Google Maps worked for me, especially on this trip and because I have no other source of navigation. Always download a map of the offline area you are hiking in before heading out. A lot of trails are on Google Maps and there is a compass (the blue dot arrow to show your location) that will show you if you are going the right direction. If you’re off trail, it’ll help direct you back onto it. The scale at the bottom left corner will also help you estimate your distance to your campsite or any destination. I can’t even begin to tell you what an amazing and unexpected source this was for my trip.


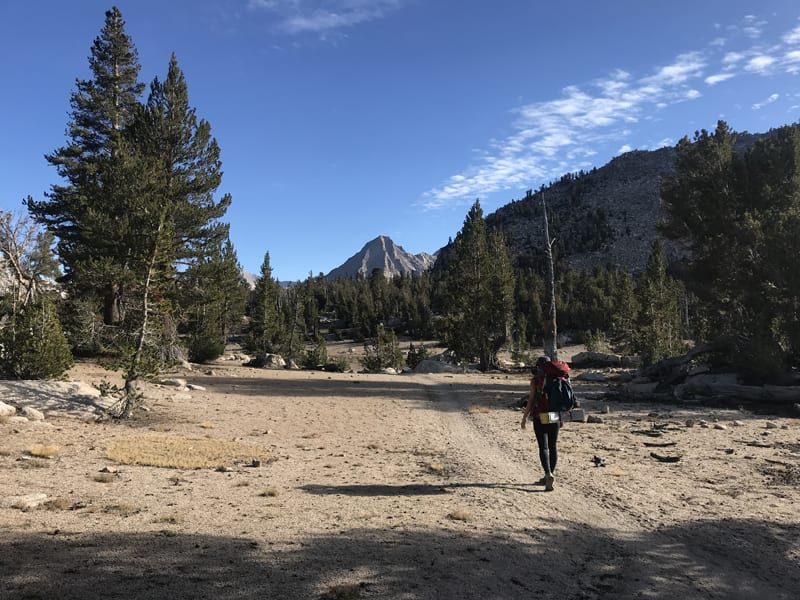


Ok, jumping back. After we filtered water, our options for night 3’s campsite were either Vidette Meadow or Junction Meadow. We aimed for Junction Meadow which was about 3 miles further than Vidette because it would put us closer to the finish line the next day.
So, we carried on with our decline and you do pass one more small creek maybe 10-20 mins after this one, so no need to filter all your water here unless you really need to – save yourself as much pack weight as possible. We got to Vidette Meadow at 4:34 pm and decided we would trek all the way to Junction Meadow. Since we weren’t sure if we’d make it before dark or not (I’d rather not hike and pitch a tent in the dark if not necessary), we filled up enough water to get us through the night, just in case.
As we headed out of one meadow and into another, we came across a waterfall, the third person we saw on the entire trail, and the most epic view of the clouds I’ll never forget – I think I stood there in awe for a good minute or so.
We got to the Junction Meadow sign at 5:43 pm but Road’s End was supposed to be 10.3 miles from this meadow and not the 12 miles listed on the sign… and since everywhere was overgrown like the meadow that is here, we trekked on. We crossed through another fenced-off section on the trail and found a nice opening to the left of the main trail by 6 pm, just before daylight was gone.
There were campfire rings here already so we knew it would be a good spot to spend the night. However, there was a big metal bin (resembling a larger bear locker) that made me nervous for a minute. It contains large tools (I’m assuming to maintain the wilderness?) which I was somewhat relieved about, but I heard chatter afterward that there’s some uncertain safety having that nearby… since someone can easily knock you out in your sleep. The river was close by but be careful getting down there as it’ gets muddy and slippery when wet.


DAY 4: Junction Meadow back to Roads End
We woke up early to enjoy a nice little campfire on our last morning in the mountains. Since there are only 10 miles left for today and it’s mostly declining, we knew we could take our time for it should be an easy day.
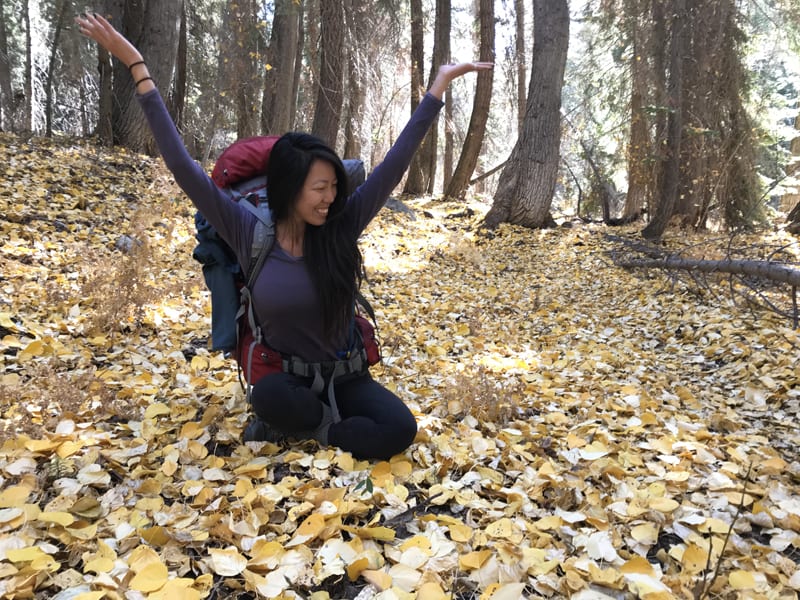
Fall was very evident and very present almost the entire hike back… and it really made me feel like I was hiking in the Fall (which I’ve been dying to do). The trail was filled with golden yellow leaves both on the trees and on the ground. There was one point where it covered the entire trail but the trees guided the path. At around 12:30 pm, 3 hours from when we started, you come across the valley view and a bunch of switchbacks… this is the beginning of the end. It took less than half an hour to get to the bottom of the mountain and right away, the valley floor was filled with ash. We could clearly see the smoke as we were coming down.
At 1:15 pm, we finally arrived back at the junction that split the loop and from here, it was 2 flat miles back to the car. With only a quick 20 min break, hundreds of photos later, and playing around in the leaves, we finished the Rae Lakes Loop at 1:50 pm. This last day only took 4.5 hours.





FAQ: Backpacking Rae Lakes Loop
What permits do you need for the Rae Lakes Loops?
A wilderness permit is required for overnight trips — you can reserve these on recreation.gov. The specific permit is for Sequoia and Kings Canyon National Parks Wilderness Permits, Bubbs Creek.
Should you hike Rae Lakes clockwise or counterclockwise?
It’s common for hikers to trek clockwise due to the more gradual elevation gain.
Where to camp at Rae Lakes?
There are multiple spots to camp along the Rae Lakes Loop. Read the blog post for full itinerary.
Where is Rae Lakes?
Rae Lakes is located in California’s Sierra Nevada mountains. It’s in Sequoia and Kings Canyon National Park.
Booking travel soon?
Please consider using my affiliate links below. It costs nothing additional for you but helps me maintain the ever-increasing costs of running a travel blog:
General travel through Tripadvisor here.
Book your flights here.
Book your accommodations here on Expedia, Booking.com, Hotels.com, and VRBO.
Book your car rentals here.
Book your tours here.
Book your travel insurance here.
Shop my favorite gear here.
Tiff, the owner and author of Follow Tiff’s Journey, is a California/ Colorado-based adventurer and outdoor connoisseur who divides her heart between the Eastern Sierra Mountains and the Colorado Rocky Mountains. Despite her fear of heights, she’s become a seasoned mountaineer, ultralight hiking and backcountry camping enthusiast, expert road trip planner, and a fervent explorer of alpine lakes, natural hot springs, and sandstone canyons.
With 10 years of experience exploring the outdoors, her blog is your go-to source for all things wilderness, offering invaluable insights and pro tips, essential gear recommendations, and awe-inspiring stories from her adventures.
Join Tiff on her quest to share the wonders of nature and inspire others to follow their own path in the great outdoors.


If you liked this hike you should try the Sphinx Lakes area. It is amazing up there. Doesn’t get a lot of traffic. You park at same spot, at first junction you head left on the Bubbs Creek trail. You hike up to the wooden bridge. My directions are in My head sorry, better review it on a map. The night sky is amazing from up top, there are several lakes up there and the fishing is great as well if you get hungry. Look it up, it’s a gem. I’ve done the Rae Lakes since I was a child. You can also try the hike from Independence to Rae Lakes or shoot straight down to Roads end via Bubbs Creek. Beautiful area either way.
Thank you, Ed! I’ll have to look into it 🙂
Hey Tiff!
Planning to do this after reading your blog! Quick question, how big was your pack? as far as water, was there enough streams on the trail to filter? Lastly, describe the amount of food you carried with you. This will be my first multi-day backpacking so I want to be prepared.
Hi Dee! I used a 65L pack for this trip which was more than enough space. There is water to filter throughout the trail and the longest section without water source is about 5-6 miles (on my second day). This was my first multi-night backpacking trip where I didn’t have the same base camp for multi-nights too and it turned out to be a great experience! Make sure you apply for your permits as this is a popular trail that’ll likely run out fast! 🙂
Hey! I’m searching for a new tent and the one in your pics looks nice. What kind?
Hi Rachael, it’s a Big Agnes tent and I absolutely love it! I linked it for you at the bottom of the post 🙂
I just LOVE how detailed your hiking reports are! I’m thinking of doing Rae Lakes Loop + High Sierra Trail this summer and I knew you would have a detailed report! 😉
PS. I miss you!
Hehe thanks, Vanessa! Miss you too! Can’t wait for our adventures to continue this year 😀
Pingback: Lakes Trail to Pear Lake, Sequoia National Park | Follow Tiff's Journey
This would be a dream! I have never tried camping this way! Would need a lot of prep. Love to see your updates on insta. Inspires me so much!
Thanks so much, Ashwini! Backcountry camping is amazing! It definitely takes some prep but once you get more into it, you fine-tune your gear, food, and just the overall process making it a lot easier to just go 🙂
I also have a Beginners Backpacking guide if you’re interested to learn more about how to get started with this wy of camping!
Pingback: Kearsarge Pass: Solo Wilderness Trip | Follow Tiff's Journey