HIKE TO: Sandstone Peak, Tri Peaks, Inspiration Point
TRAILHEAD: Sandstone Peak Trail (Mishe Mokwa Trail > Backbone Trail)
MILES: 6 miles
TIME: 3-5 hrs
DATE I WENT: 12/21/14
DIFFICULTY: moderate
ELEVATION: 3,111 ft
HIKE PERMIT: no
LOCATION: Malibu Southern California

Where is Sandstone Peak
Sandstone Peak hike is located further north in Malibu by LA and Ventura county lines, just passed Thousand Oaks but before Camarillo, and the peaks overlook Point Mugu State Park. It’s about 1.5 hours from Orange County.
PRO TIP: The drive to the trailhead from PCH is a lot less nauseating than from the 101 fwy if you get car sick from the winding mountain roads. But if you exit on the 101 fwy after you finish this hike and found it to be easy with more energy for another quick adventure, hit up Ladyface Mountain for a one mile ridge hike when you exit into Agoura Hills on the way home from the 101 fwy.
Booking travel soon?
Please consider using my affiliate links below. It costs nothing additional for you but helps me maintain the ever-increasing costs of running a travel blog:
General travel through Tripadvisor here.
Book your flights here.
Book your accommodations here on Expedia, Booking.com, Hotels.com, and VRBO.
Book your car rentals here.
Book your tours here.
Book your travel insurance here.
Shop my favorite gear here.
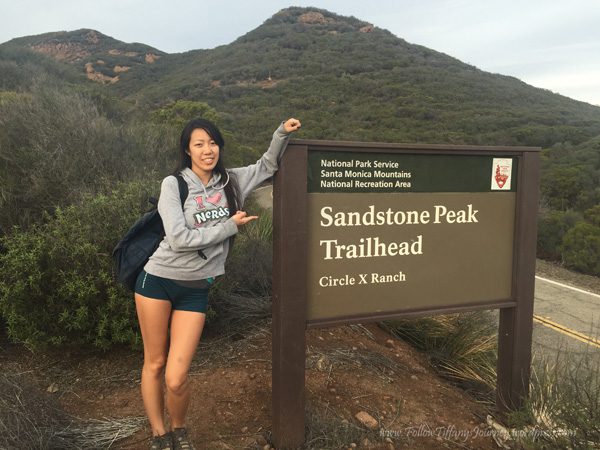
Sandstone Peak Trailhead
There are two trailheads on Yerba Buena Road you can start at for the Mishe Mokwa Trail and/or Backbone Trail to Sandstone Peak. The Sandstone Peak TH parking lot and Mishe Mokwa TH parking lot both have a large dirt parking area. Parking is free and there is an outhouse restroom at Sandstone Peak TH where I parked. The trailheads are only 0.6 miles apart on the road and you can start from either one which both connect to the same hiking trail.
PRO TIP: If you are only hiking to Sandstone Peak, park in the Sandstone Peak TH parking lot for a short 1.5 mile one-way hike. This is a great option for a Los Angeles sunrise hike!!

Sandstone Peak and Tri Peaks Hike Report
I got scooped up at 7:50 am and arrived at the parking lot by 9:15 am and started right away at 9:20 am. We started off correctly, in the Sandstone Peak Trailhead parking lot which is a large dirt lot.
The Sandstone Peak Trail starts with some elevation gain right away for the first 0.3 miles until you reach the first trail junction where you’ll find a sign providing two options:
- Right: hike counterclockwise on the Mishe Mokwa – Backbone loop trail to see Balance Rock, Split Rock, Tri Peaks, and Inspiration Point before ending with Sandstone Peak
- Left: hike clockwise on the Backbone – Mishe Mokwa Trail straight to Sandstone Peak first
For this hike, we hiked counterclockwise to the right for a more gradual ascent and ended our hike with Sandstone Peak.


From the junction, you see the Balancing Rock in about 20-30 minutes and then Split Rock is less than 10 mins after that. Split Rock is a well-shaded area with a lot of tree coverage and a good place for a break. This is 1.5 miles total from the first junction. The narrow dirt trail offers beautiful views of the entire Santa Monica Mountains
Balancing Rock is located above Echo Cliffs, a popular climbing area in Malibu. There is a trail to the right of Split Rock that allows you to hike down towards it but we continued on the Mishe Mokwa trail to Tri Peaks. Stay on the trail to the left.


Split Rock to Tri Peaks
We kept left/ straight to continue on the Mishe Mokwa Trail and 25 minutes later, came across the next sign. This is where we were misled and created our own path to Tri Peaks. If you do not want to hike our adventurous detour, ignore this section and skip down here to continue on the proper trail to Tri Peaks and Sandstone Peak.
The map shows that Tri Peaks is the first off-trail after the split rock, so seeing a sign and a trail, of course, we thought this was it. However, the sign didn’t actually label “Tri Peak” so were unsure. We gave it a shot, got lost, and ended up spending just under 2 hours at Tri Peak alone! We started at 10:48 am and finished before 12:40p. My map reading skills are a lot better now as opposed to when I first started hiking.
When you get to the end of this path, it is a big, open space. The options: go straight to the left, or u-turn to the right. We went left first. Wrong. We went all the way back out, then decided to try again in the other direction. Made the u-turn to the right, and this is where the adventure began. *note: this also leads to Tri Peaks and I think it was a funner path*
We ultimately just b-lined for the top of the peaks.
You will walk through trees kind of and see a stream on your left. Cross this stream. Keep right, and follow the stream all the way up. The path is not always there, but as I said, this is the more adventurous option for Tri Peaks. We stepped in a little mud, rocks, and climbed boulders at the end. When it looks like there is nowhere to go, don’t stop. It keeps going, you just have to find it.
This is the point where we got stuck and went all the way back out to the beginning of the stream, then all the way back to the boulders. It looks like a dead end, but cross the stream to your left and go through the trees and up the rocks! You will find the stream continues from up there, and when in doubt, follow the stream all the way.


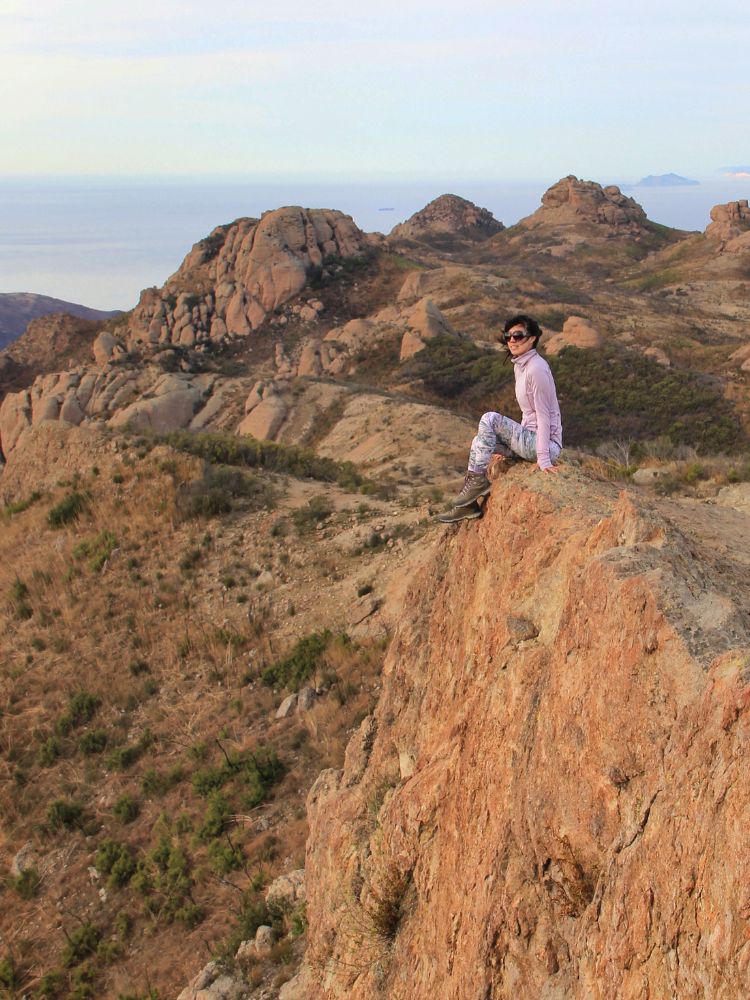
This lead us to be face-to-face with Tri Peaks. Since we already boulder-ed our way up, we decided why not explore more. All that effort was not just to take a quick pic and leave. So we continued up even more and climbed up the top of Tri Peaks!


Once we were done at the top, we headed back to the trailhead fork, continued on, and 0.3 miles later, the Mishe Mokwa Trail merged into Backbone Trail.
Shortly after, we saw a sign for Tri Peaks.
Tri Peaks Trail
The map shows Tri Peaks trail is the first off-trail so that is why we thought the previous trail was it, but apparently it was further along. Regardless though, I am glad we explored this trail because it turned out to be quite an adventure! Not to mention, we did hike the correct trail afterward back up to Sandstone Peak and the trail is certainly easier and clearer, but not as adventurous.
Near the Tri Peaks Trail junction is where the Mishe Mokwa Trail and Backbone Trail connect.
The trail to Tri Peaks from the Backbone Trail is only half a mile with a little uphill and a lot of little rocks on the trail. It is fully exposed to the sun and 100% worth the hike. You can still scramble around the boulders on the summit and the views from the peaks are very different than what you’ll see on Sandstone Peak and Inspiration Point. If you look on the north side, you will even see some beautiful red-colored rocks down below which is really unique from the rest of the hike – these were my favorite views from the whole hike and it’s much less crowded.


Inspiration Point was the next stop.
Don’t let the sign scare you – It may say 2,800 ft elevation, but remember, you are already at 2,100 ft from the base of the hike. Inspiration Point was only 5 minutes up the trail and the view from the top was more beautiful than the last. You get an amazing 360° view of the area which means you see the Pacific Ocean in the near distance too. We went on a cool, cloudy day, but the sun was out a lot and reflected beautifully on the ocean.


Back to the Backbone Trail. Next stop — Sandstone Peak.
Sandstone Peak is the highest peak in the Santa Monica Mountains.
The highlight of this hike is Sandstone Peak, the tallest point of the Santa Monica Mountains sitting above 3,000 ft. When you hike up the path, keep left when the fork splits towards the summit. We went right first which takes you up somewhere close by, but I do not think it is even worth the detour, because what you are about to see next will take your breath away. You lose the trail close to the peak and just scramble up to the high point.
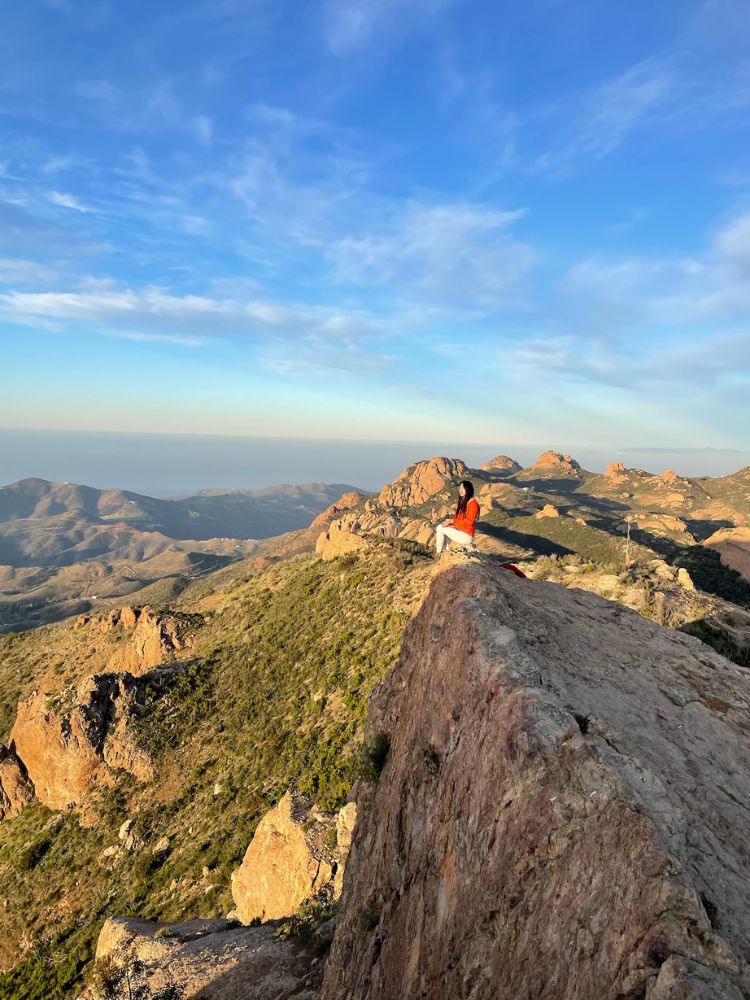
From Sandstone Peak (3,111 ft), you get 360° views similar to the view from Inspiration Point but this one is better in my opinion. There is not any flat areas to sit and hang out comfortably on at the summit as it is all a big rocky slope, but there is still plenty of space to take a quick break and snap some photos. You can even see down to the parking lot from here.
Sandstone Peak is a beautiful spot to catch both the sunrise and sunset, although I personally prefer the sunrise hike here. The early mornings tend to be more overcast conditions with the marine layer along the coast which provides for almost an above-the-clouds-like experience.


Sandstone Peak back to parking lot
Heading back is mostly downhill. There are a lot of loose little rocks on the wide dirt fire road trail so actual hiking shoes would be. be better than regular gym shoes, although honestly, that would suffice as well. But the soles of hiking shoes offer better grip when you’re on the rocks or scrambling around Tri Peaks.
There are several routes back down to the Backbone Trail – you can follow any of the paths you see for a quicker “shortcut” to scramble down and reconnect with the Backbone Trail or just take the same trail back.


What to Pack for a Day Hike in Santa Monica Mountains
Things to Do Near Malibu
Places to Stay Near Malibu
- Unique glamping in an 1800 covered luxury wagon – Westlake Village
- Pet-friendly classic airstream – Santa Monica Mountains
- The M Malibu – pet-friendly and budget-friendly (ish) motel conveniently located near Malibu Lagoon State Beach
- Ocean View Hotel – Santa Monica – walking distance to the beach and attractions in Santa Monica
The Wrap-Up: Mishe Mokwa Trail to Tri Peaks in Malibu and Sandstone Peak
The Mishe Mokwa to Backbone Trail in Santa Monica Mountains has gradual elevation gain throughout the entire hike (excluding the peaks) and doable for anyone looking to spend half a day on a moderate hike in the mountains. I strongly recommend trying the hike direction I went, as opposed to the trail-marked one. You will get so much more of an adventure exploring the mountains and climbing up huge boulders!
Tiff, the owner and author of Follow Tiff’s Journey, is a California/ Colorado-based adventurer and outdoor connoisseur who divides her heart between the Eastern Sierra Mountains and the Colorado Rocky Mountains. Despite her fear of heights, she’s become a seasoned mountaineer, ultralight hiking and backcountry camping enthusiast, expert road trip planner, and a fervent explorer of alpine lakes, natural hot springs, and sandstone canyons.
With 10 years of experience exploring the outdoors, her blog is your go-to source for all things wilderness, offering invaluable insights and pro tips, essential gear recommendations, and awe-inspiring stories from her adventures.
Join Tiff on her quest to share the wonders of nature and inspire others to follow their own path in the great outdoors.
